


 229 / 1302

12. 40mm Stone bench top installation instructions.
1 Placement of the substrate.
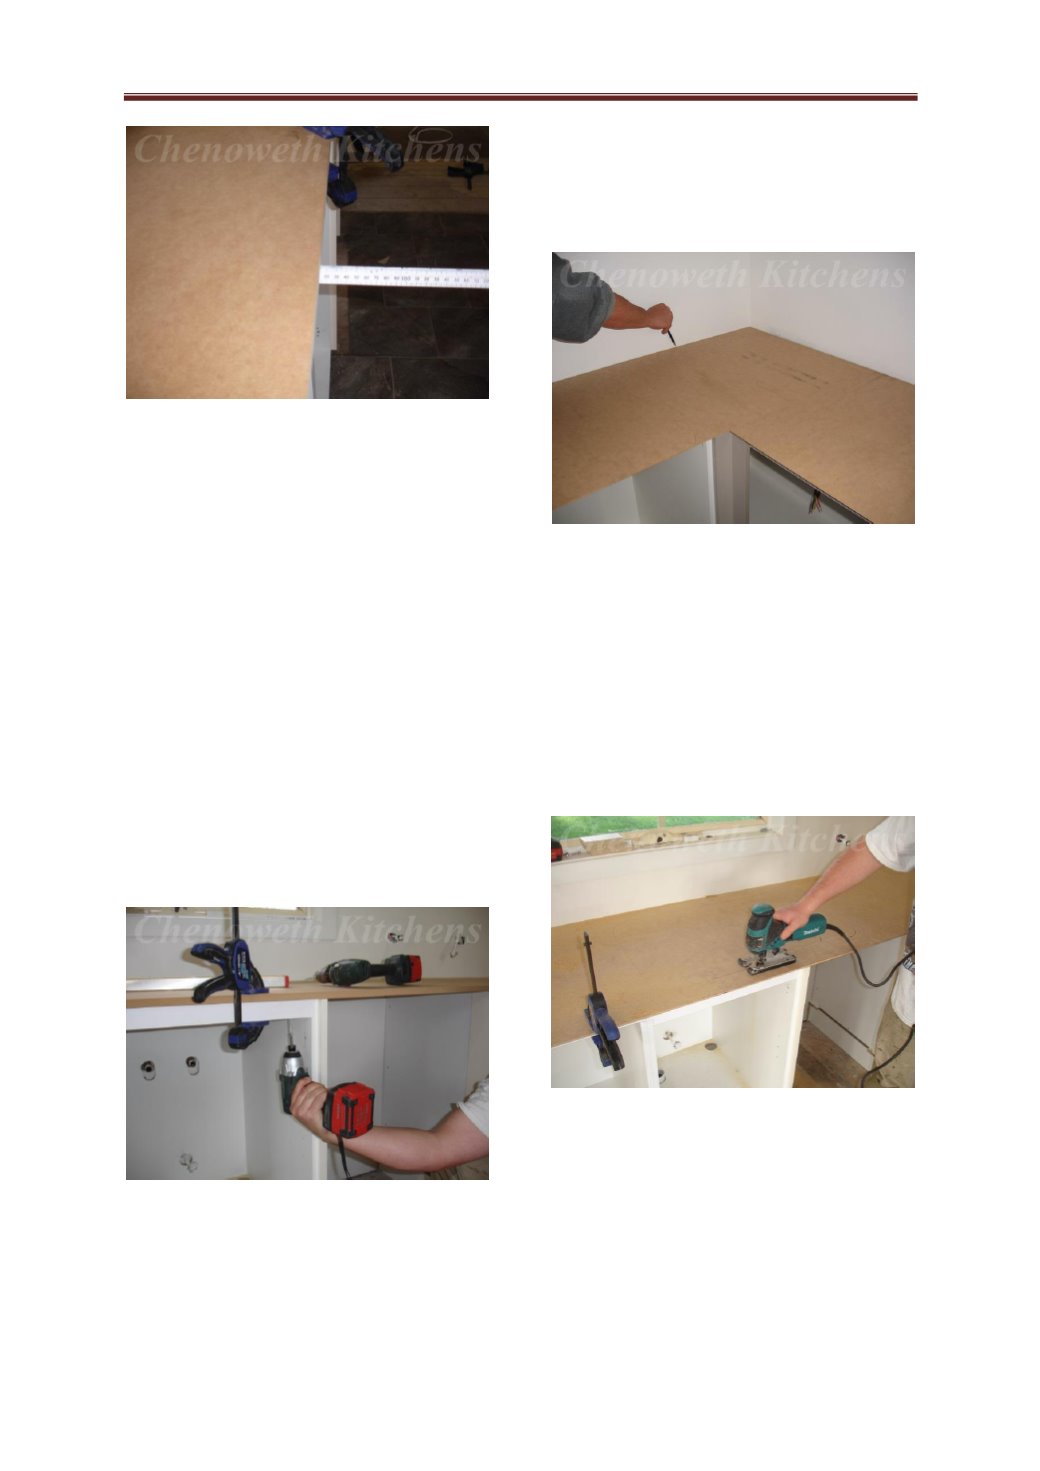
Position the 18mm thick HMR MDF substrate
to position ensuring that the edge overhangs
the front of the cabinets by 10mm and is
25mm short of the planned overall length,
width & depth to allow for the 20mm thick
stone edgeing.
Tip, HMR stands for “highly moisture
resistant” also it is not necessary to fit the
board to the walls.
NOTE , The 10mm overhang to the substrate
is to suit the popular 40mm mitred stone
edges and any other type of edge thickening
used, you should talk to your stone bench top
fabricator to get advised on how much of an
overhang to allow for.
2 Fixing substrate into position.
Fix substrate into position using screws from
underneath as per laminate bench top
instructions.
“NOTE” By fixing the substrate in place from
underneath if anything happens to the top in
the future then the top can be unscrewed and
replaced.
3 Making templates.
Position the 5mm MDF templates into
position ensuring that any joins are fitted up
closely and fit to walls as per laminate bench
top installation instructions.
“NOTE” Be accurate as the finished stone top
will be fabricated to the exact size & shape of
the templates.
4 Marking the sink & hot plates cut out
holes.
Mark and cut out the sink & hot plates holes
as per the laminate bench top installation
instructions.